8 Interior Painting Mistakes & Corrections: Do This, Not That
Ah, the allure of a freshly painted room – the promise of a new look, a fresh start, a canvas awaiting your creative touch. But before you break out the brushes and rollers, let's talk about the potential pitfalls of interior painting.
Whether it’s choosing the wrong color or paintbrush or failing to sufficiently prepare your space, there’s a lot that can go wrong when it comes to painting your home’s interior, especially if you’re opting to go the DIY route.
While it's easy to get swept up in the excitement of transforming your space, some common misconceptions can lead to less-than-desirable results.
Fear not, dear reader, for Fulton Revivals is here to set the record straight and ensure your interior painting project is a smashing success!
Interior Painting Mistake 1: Skipping the Prep Work
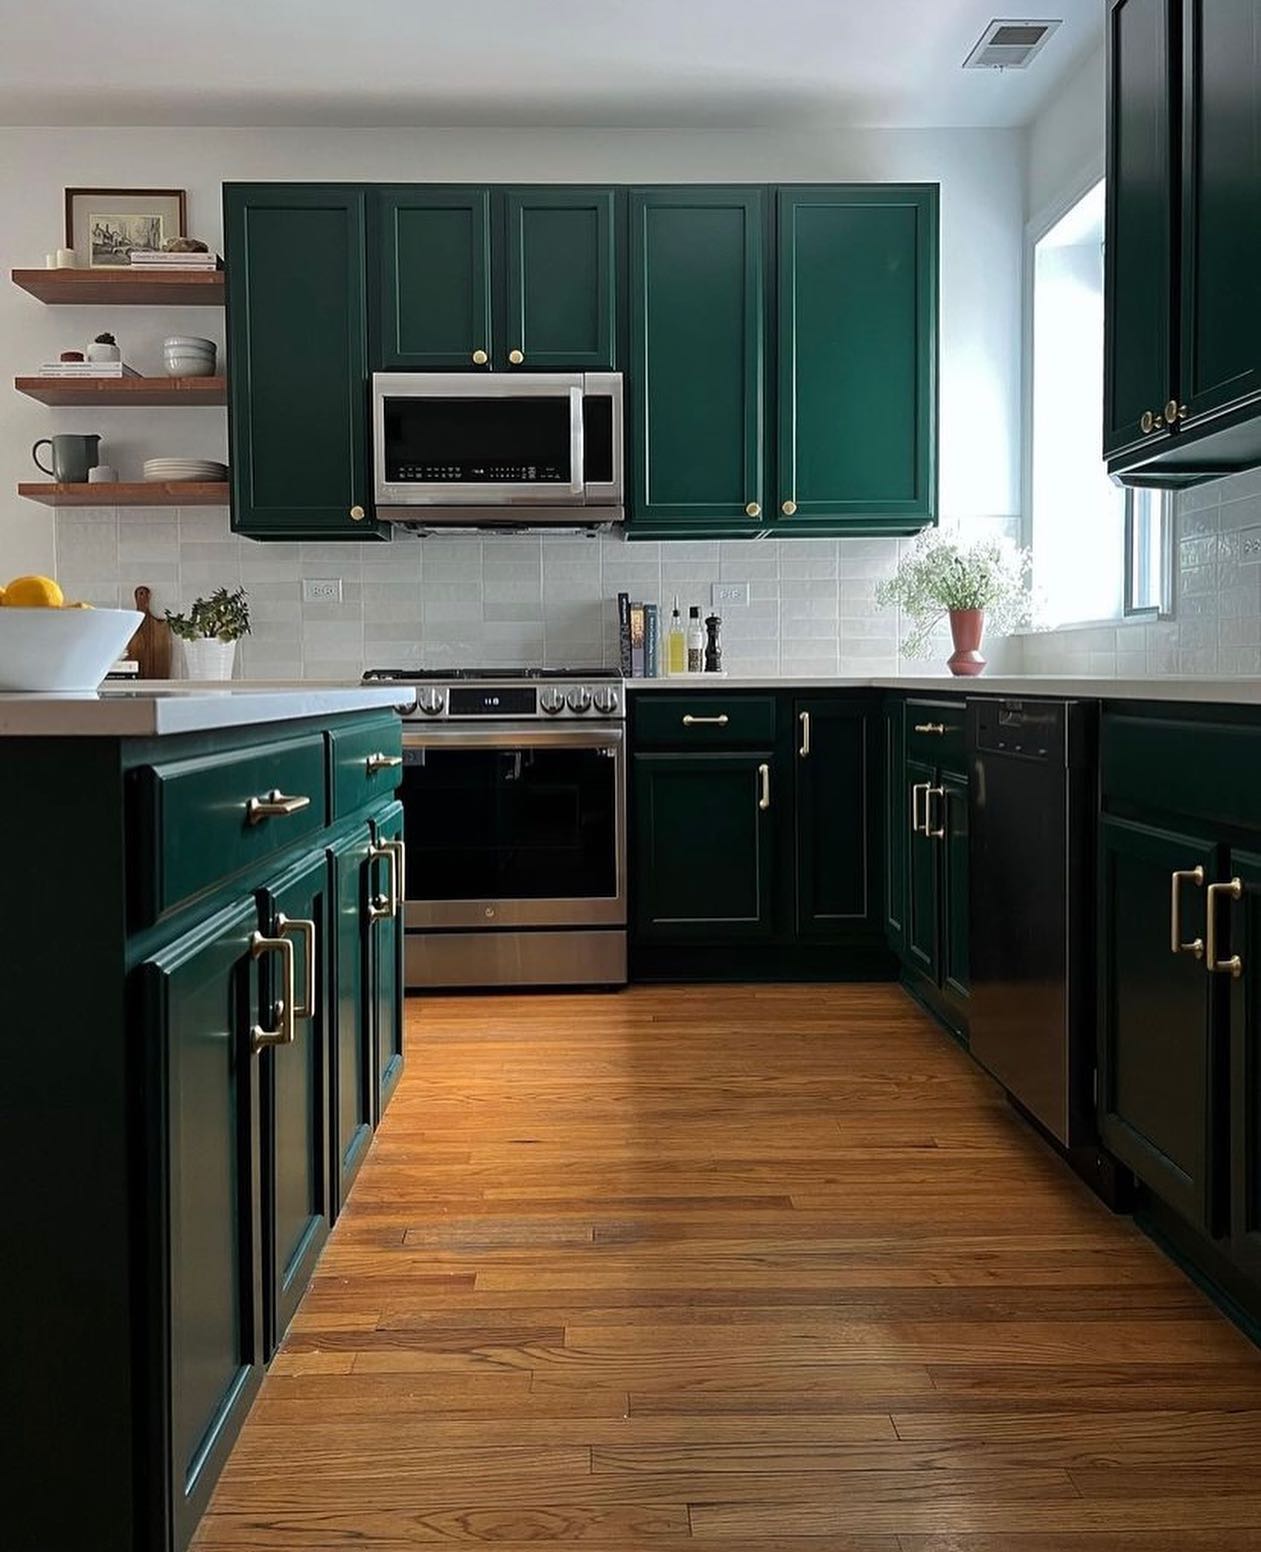
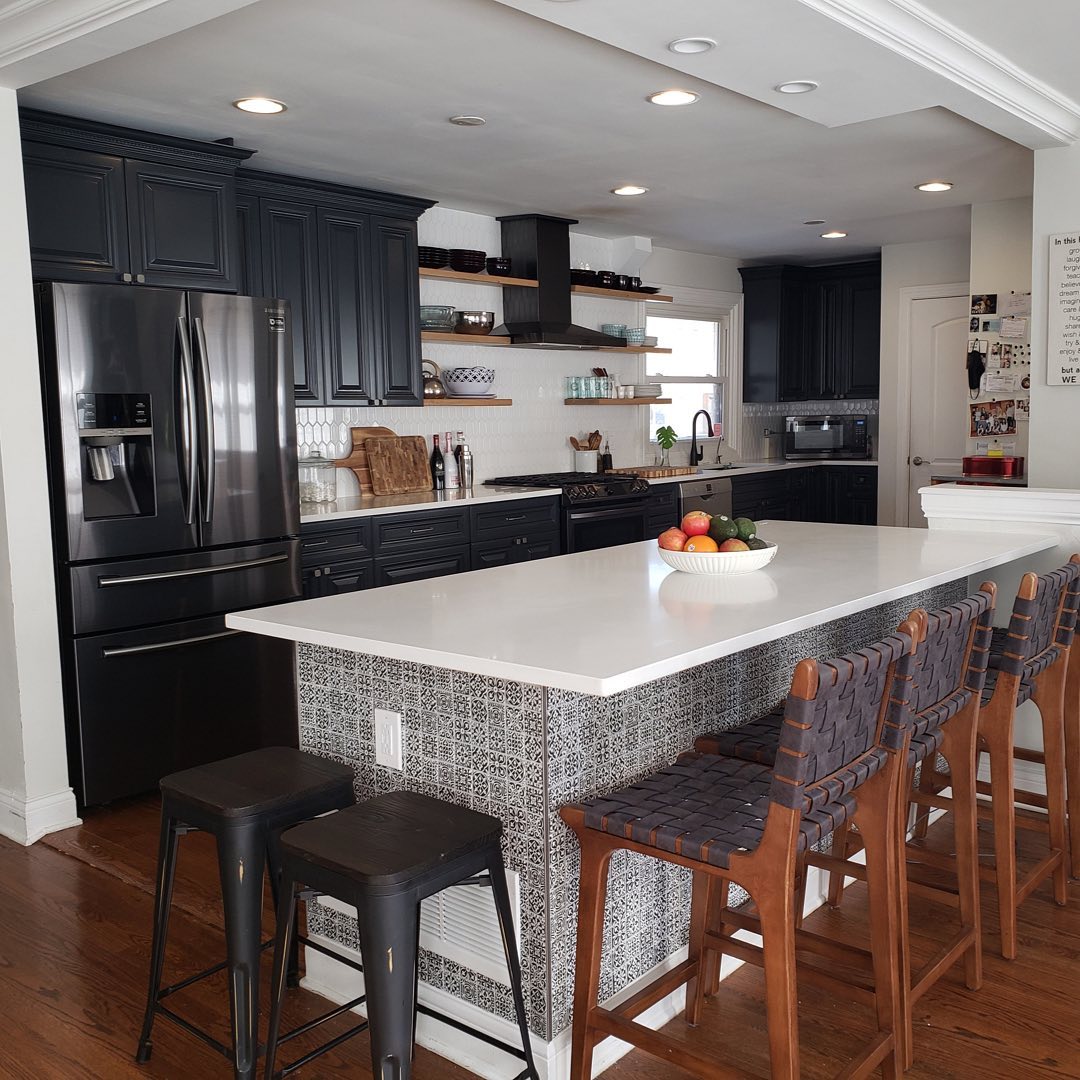
Proper preparation is the key to a flawless paint job, especially if you’re painting kitchen cabinets. In the room where splatters are most common, attention to detail is necessary to ensure you don’t paint over things that prevent a perfect finish – like food debris that could’ve been wiped away.
Start by cleaning the walls to remove dirt, grease, or mildew that could affect paint adhesion. Then, use spackle to repair any cracks or holes and sand the surface smooth. Finally, prime the walls to create a smooth, even base for the paint to adhere to.
Preparing your walls with these steps ensures a professional-looking finish that lasts, and the hard truth is that there’s no shortcut around the careful, methodical work it takes to accomplish a proper prep job for interior painting.
Interior Painting Mistake 2: Using Low-Quality Paint
Quality matters when it comes to paint materials, especially what’s in the cans you buy. While it may be tempting to skimp on cost and opt for cheaper brands, investing in high-quality paint will pay off in the long run.
Quality paint provides better coverage, durability, and color retention, resulting in a more beautiful and long-lasting finish. Plus, premium paints often contain fewer volatile organic compounds (VOCs), making them safer for you and your family.

Interior Painting Mistake 3: Overloading the Brush or Roller
Less is more when it comes to loading your brush or roller with paint. Excess paint can lead to drips, streaks, and uneven coverage, resulting in a less-than-perfect finish.
Instead, lightly dip your brush or roller into the paint and tap off any excess on the edge of the container. Apply multiple thin coats of paint, allowing each coat to dry completely before applying the next for smooth, even coverage.
Interior Painting Mistake 4: Ignoring Color Samples
Choosing the perfect paint color can be daunting, but don't skip the step of testing color samples before committing to a full gallon. Paint a small section of the wall with sample colors and observe how they look in different lighting throughout the day.
Consider how the colors complement your furnishings, flooring, and decor. Taking the time to test color samples will help you avoid the disappointment of selecting the wrong shade and having to repaint.
Interior Painting Mistake 5: Rushing the Drying Process
Patience is a virtue when it comes to painting. Rushing the drying process can result in smudges, smears, and imperfections that mar your freshly painted walls.
Allow each coat of paint to dry fully according to the manufacturer's instructions before applying additional coats or touching the surface. Use fans or open windows to promote airflow and speed up drying time, but resist the temptation to rush the process for the best results.
Interior Painting Mistake 6: Painting Over Wallpaper
While it may be tempting to paint over wallpaper as a quick fix, it's a recipe for disaster. Paint won't adhere properly to wallpaper, leading to peeling, bubbling, and an uneven finish. Instead, take the time to remove the wallpaper completely before painting.
Use a wallpaper steamer or solution to loosen the adhesive and carefully peel away the paper. Once the wallpaper is removed, clean the walls thoroughly and prime them before applying paint for a smooth, professional finish.

Interior Painting Mistake 7: Forgetting to Protect Floors & Furniture
Painting can be messy, and forgetting to protect your floors and furniture can lead to costly damage. Lay down drop cloths or plastic sheeting to protect floors from drips and spills. Cover furniture with old sheets or plastic to prevent paint splatters.
Take the time to remove hardware such as light switch covers and door handles to avoid accidental paint splatter. By taking the necessary precautions, you can ensure that your painting project goes smoothly without causing damage to your home.
Interior Painting Mistake 8: Neglecting to Prime Before Painting
Skipping the primer may seem like a time-saving shortcut, but it's a crucial step in achieving a professional-looking finish. Primer creates a smooth, even base for the paint to adhere to, allowing for better coverage and durability.
It also helps to seal porous surfaces and hide imperfections, such as patches or repairs. Don't skip the primer – invest in a high-quality primer and apply it before painting for the best results. Your walls will thank you!
Trust Fulton Revivals for Interior Painting in Chicago
By debunking these interior painting misconceptions and offering practical solutions, you can embark on your painting project with confidence and achieve stunning results. Whenever you’re looking to implement the proper preparation, quality materials, and attention to detail, Fulton Revivals is here to help you accomplish all of your interior painting goals!
Whenever you need a helping hand, don't hesitate to contact Fulton Revivials for all your interior painting needs in Chicago. Let's bring your vision to life, one brushstroke at a time!